
I did a purse for my granddaughter as a surprise from the fabric leftovers that I took off her prom dress to shorten it......over 5 inches. I ended up with this pile of supplies.....I was compelled to do something with it!

After spending some time in my stitching library, I came up with the Elegant Black Purse from this book in case you are interested. I knew this would go together quick and I needed fast.....this project had to be done today. Mary Mulari is known for simple and easy designs so the basic shape of the pattern was a great jumping off point. You could make this pattern as written in the book in less than 1 hour.....my version, not so much! But then again that was my choice!

I found some moray decorator fabric which would make for a good main fabric to start with, cutting a rectangle as noted in the pattern. (NOTE: I can't give exact dimensions because it is a copyrighted pattern.) I also ironed on some fuseable fleece to the back of the moray to give it more body. Then there is a piece for the lining.
This is the easiest zipper ever, lay it down and sew.....

on both sides of the zipper through all the layers, but you say how can that work????

Then you flip it over and cut the fabrics out to expose the zipper on the back side.....well isn't that special?

Then I did a narrow zig-zag stitch enclosing those raw edges! Isn't that slick!

Then I turned it over to the right side and laid down some trim over the previous stitching and the zipper tape and instantly, it looks beautifully finished!

Here you can see I set my zig-zag at 1.0 wide to lay down the trim.

Doesn't that look nice?

On this same rectangle I basted the whole thing with that same zig-zag stitch, just to hold all the layers together nicely. You might want to use a walking foot to do this. My machine handled it fine, but I would say most machines would have a problem with this and a walking foot will be your solution.

Then according to the pattern, I cut the flap for the bag, I layered one layer of the moray, next was a piece of Lizzie's under skirt on her dress. Pin basted together.

Then I took some of the tulle scraps and made a nice texture over the top of it all....pinning as I went.

I went to my basket of metallic thread and dug out these little beauties, they wanted to come out and play today.

This is play time for me, selecting stitches and away we go.....

Don't they look fine?

Now we are down to playtime part deux! Here are all of my supplies, most importantly is that little blue box which is a thread conditioner. I would highly recommend you getting yourself some of that if you do much hand embroidery or sewing. You thread does not tangle after using it.....wonderful product!

I start sewing beads down.....making them move where I want them.

This probably took me an hour or so to get them all sewed down and then I gave the tulle a haircut and you can see the flap shape.

Then I layered the embellished flap with another piece of moray with right sides together.

Sewed them together leaving the top straight edge open. Also trimming the corners, so there is less bulk.
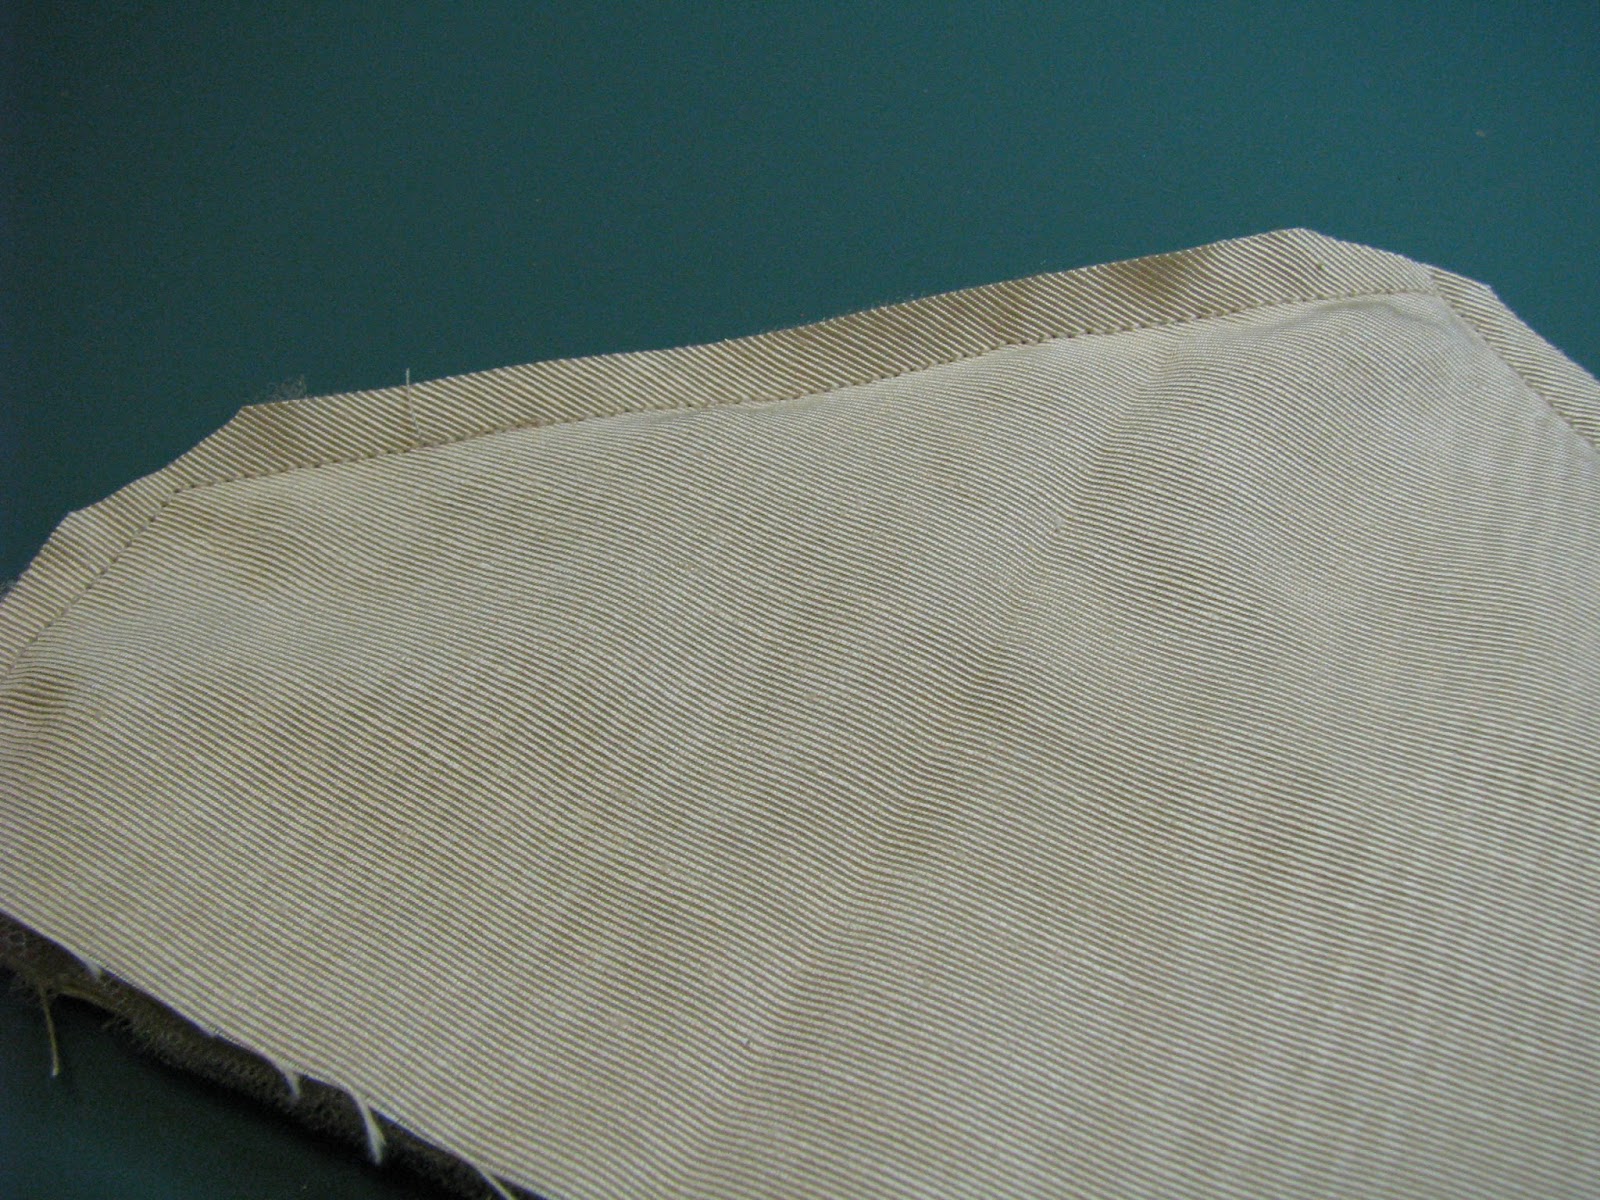
With a chop stick I turned the flap right side out and pressed it gently on the back side.

But I think it needs more.....I still have more tulle, so I cut up some strips about 1 to 1 1/2" wide.....threaded up my needle with a double thread and start doing a running stitch down the middle of the tulle, do several inches then pull it up and then make a stitch through the tulle and the edge of the flap to hold it down.....AND repeat.....

Some of these pieces I used were pretty jaggedity, but it was what I had and frankly after you gather it, it still looks wonderful!

Here you can see the thread down the center and my stitch were loose until you pulled it up.

It is starting to look close to finished.....

Oh, but not quite.....I have a lot more bling looking at me that I took off the gown.....so there needs to be a little bit more added. This trim looks like Swarovki trim, but it was too nice nice not to use more of it. So I laid those crystals over top of the stitching line of the tulle and tacked down these little pieces of bling. I didn't have one continuous piece, it didn't matter, you can't tell there are several short pieces used.

Here is the bag flap done and we are ready to make a bag!

Center the flap over the zipper end of the rectangle with the right side of the flap facing up.

Baste along the flap edge with 1/4" seam.

Here you can see if I lift the flap the zipper is hidden underneath.

Then bring up the bottom edge of the rectangle over the flap and sew over the seam you just sewed through all the thicknesses. We are putting the bag together now. And that funny looking gadget, I call it a hump-jump, you put it under the back or the front of your presser foot when you are starting and ending really thick layers of fabric. It keep you presser foot level and your stitching quality will be a lot better. Another handy little item!

Here you can see the rectangle we are sewing around 3 sides. My best tip is using the hump-jump thing when you stop and start.

Peek a boo!!! See the flap inside, it won't be there for long. Also notice I use a long zipper, I always buy longer zippers, then cut off what I don't need.

Make sure you open the zipper part way, because that is the only way you can turn the bag, once you sew this rectangle up on three sides. You need that zipper open to turn the bag to the right side through that opening. I have one more side to sew and our bag is almost done, can you see it yet!

Now I want this bag to have some shape and not be flat. So I pull out the bottom corners and mark them like this 2" across and I am going to sew on that line through all the layers.

Sorry I forgot to take a picture of the boxed corners finished. I will point them out later.
I start to turn the bottom of the bag, but I can see that seam that the flap was sewed to, has some thread action going on, so I ran it through the serger......end of that problem. Looks all clean and tidy now.

Here we are already to go out for a fancy schmancy time!
See how the bag stands up, that it because of the stitching across the bottom two corners, it gives the bag a nice base and some shape.

Look under the flap..... with the added zipper pull, which came from the hanger ribbons on the dress at the shoulder that I cut off. And we are ready to party.

All dressed up.......

Beautiful night, beautiful dress & purse to match, AND beautiful girl inside and out! Love you sweetie!


